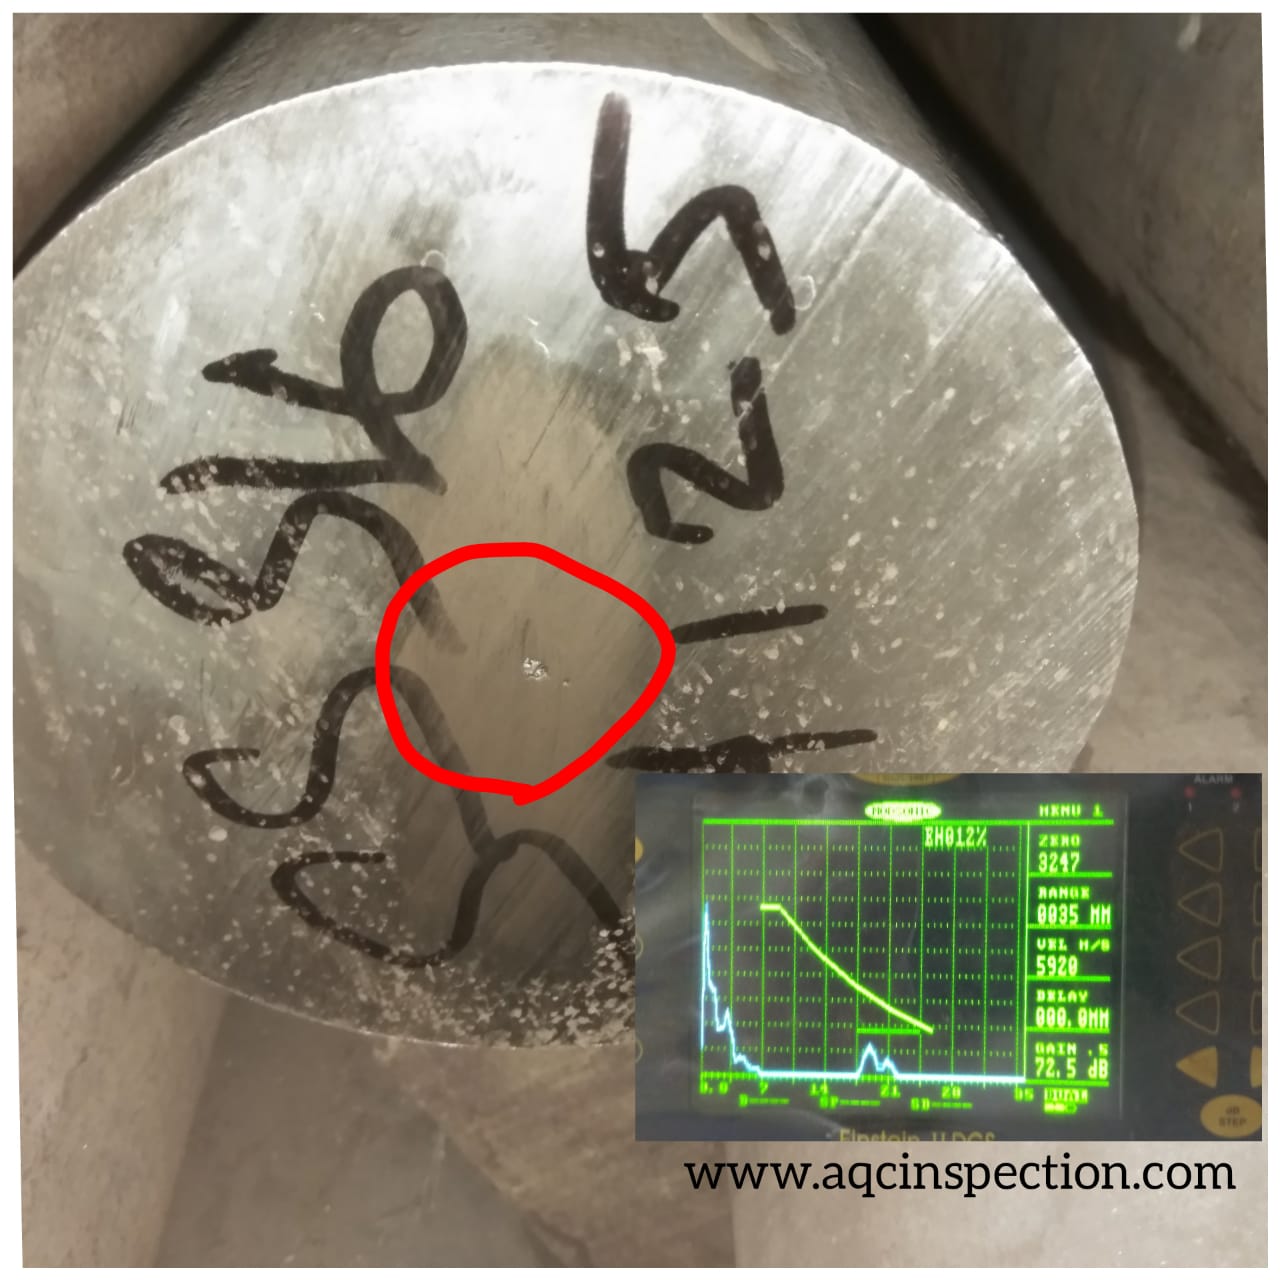
Ultrasonic Testing on Solid Shafts
Piping – piping is more often identified in solid shafts, and the location will be at middle of the circular shafts .

In most cases the defects extends throughout the shaft. Piping can be noticed when the ends of the shaft is cut/machined as shown in the picture.
Piping is formed in the shaft material during solidification after pouring. It is similar to shrinkage in castings. It occurs when all other outer circumferential areas solidifies and finally the Centre area have less metal during cooling.
Best method of detection of piping is Ultrasonic testing – UT scanning using a normal 0 degrees probe. This Non Destructive Testing method can save plenty of raw material cost and machining cost by early detection of defect during the procurement stage.
Most Machiners and fabricators involve NDT technicians and Third party inspection agency at their raw material vendor’s premises before transporting the raw materials to their factories.
For more reliable and best UT Testing services or training and certification for NDT, reach Advanced Quality Centre https://aqcinspection.com/non-destructive-testing/
For our blog updates you may also visit https://ndtcenter.blogspot.com/


