NDT methods for Welding Inspection
Welding is a process of joining two metals by heating both the metals. Heating of metals may be carried out various process based on which welding is broadly classified as
- Arc welding – by creating an electric arc.
- Gas welding – by utilizing flame of burning gas.
- Friction Stir – by heat generated due to friction.
- Electric Resistance – by resistance of material to passage of current.
- Electron Beam – Heat produced by hitting electron beam on to the metal.
There is possibility of discontinuities in other words called as “Defects” formed during the process of welding or during cooling for solidification. The causes for the defects are various few of them are described below.
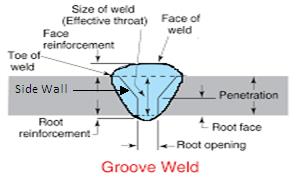
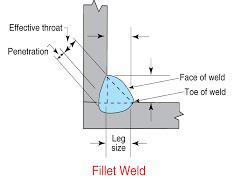
Before understanding the defects we will refresh the nomenclature of the weld which is shown in the below figure:
- Undercut –at the weld fusion area/ weld toe on the base metal, may occur on the face side or root side of the weld.
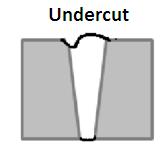
Cause :- Caused due to excessive heat melting the base metal probably caused by two reasons. They are Slowdown of welding speed at that particular location or increase in the current suddenly with constant speed.
- Underfill – Occur at face side of the weld, can be identified as lower surface level than the adjacent base metal.
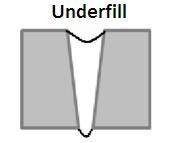
Cause: Pour of less or insufficient weld metal during welding required more filling.
- Excess Penetration- Occurs at root of the weld, can be identified as excess weld drop at root.
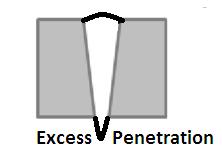
Cause:- Occurs due to excessive root Gap , less root face and excess current during these conditions. Avoid too much root gap and provide adequate root face to support the high heat input during weld.
- Lack of Penetration : Occurs at the root side of the weld can be identified as lack of weld metal at the root side and both the root face edges will be visible as shown below.
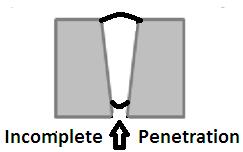
Cause :- May be due to any of the following reasons- Less Root Gap, More root face, too small bevel angle, Less current, Too large electrode diameter, Longer arc length.
- Incomplete fusion: Occurs as gap between the weld metal and base metal and can be at any location, Root, Face or at Sidewall.
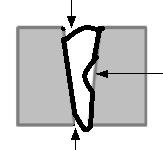
Cause:- Due to improper welding skill, incorrect welding current and voltage, incorrect travel speed, poor inter run cleaning & wrong selection of electrode.
- Root Concavity: Can be observed as suck back or concave like depression in the root, even though both the root faces has fused with weld metal.
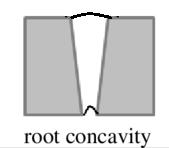
Causes:- Insufficient arc power to produce positive bead, excessive backing pressure ( if purging is done), Lack of welder skills, Slag flooding in backing bar groove.
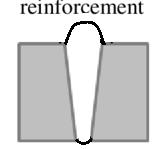
- Excess weld Reinforcement: Occurs in the face side of the weld as improper weld bead as shown below. It is considered as defect because of formation of sharp corners at toes.
- Misalignment: Found as un even level(up and down ) between two joining base metal.
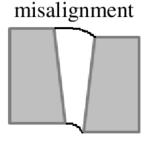
Cause: may be caused during pre-welding fit-up, or after welding due to in adequate tack welds and temporary retainers.
- Cracks: Cracks may be found as longitudinal or transverse, and also may be found in the base metal near to weld (HAZ Heat Affected Zone) as shown in the figure. Hot cracks occur during welding and cooling or during heat treatment process. Cold cracks occurs during the service due to loads.
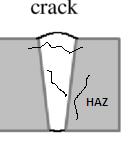
Causes: May be due to any or all of the following reasons. Improper electrode, Improper cooling rate or quenching, High carbon content steel, High Sulphur and phosphor content in steel . Certain alloys, welding on coated steels, Cold cracking mostly starts from HAZ areas due to internal & external stress, and hydrogen induced.
- Porosity: Occurs as round or curved cavities in the weld, may be single, clustered or aligned.
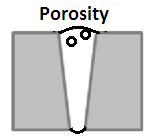
Cause:- Due to absorption of nitrogen, oxygen and hydrogen in the molten weld metal . The gases are involved in the weld metal due to moisture in base metal or welding electrodes, and poor gas shielding.
- Spatter : Weld metal splashed and sticks to the surface of the weld or base metal. Few are easily removable and few has to be grinded down.
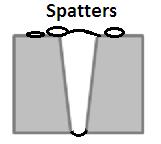
Causes: Long welding arc., Short welding arc, Cleanliness of the base material surface. Selection of gas welding (CO2 welding yields more), Welding at a wrong angle.
Imbalance between voltage and amperage, incorrect wire feed speed.
- Arc Strike: Occurs as a base metal damage and splash of melted base metal on the base metal surface.
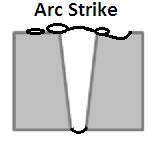
Causes: When Electrode holder touches the other base metal areas causing an arc between the base metal and the holder.
- Slag Inclusions: Occurs as non-metallic left outs in the weld metal or between the weld metal and base metal as shown below. These slag inclusions causes lack of fusion at few locations.
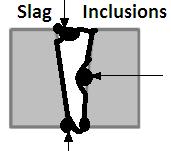
Causes: The flux layer formed over the solidified weld pool if not cleared forms as slag inclusion. The melted holders in MIG welding form Copper inclusions on the weld metal. The melted tungsten rod in TIG welding forms Tungsten inclusions on the base metal.
- Crater / Crater Pipe / Crater Cracks: Craters occurs as elliptical shaped depression at end of weld or weld stopping point. Crater pipe occurs as a hole at the center of crater and crater crack occurs as star shaped crack at the middle of the crater.
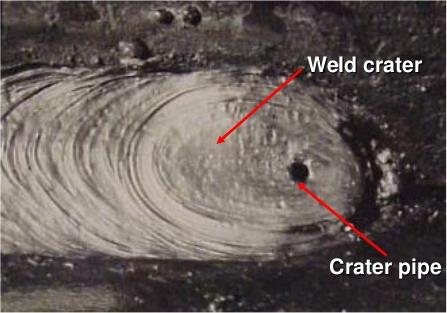
Causes: Crater is caused due to improper weld stopping technique, crater pipe or crack is formed due to low weld filling at the crater area. Crack is formed during cooling due to insufficient metal.
- Overlap: Occurs as Weld metal flown more than the edge of the face as shown below.
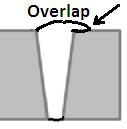
Causes: Overlap is caused due to wrong electrode angle, slow welding speed, high current and contamination.
To know more about causes of the welding defects, analysis and remedies for the weld imperfections visit: https://aqcinspection.com/ or call 0422 4342244. For free consultation with experts.
What are the methods to find welding defects?
Methods of NDT Services:
In addition with Visual inspection of complete weld area (both Face and Root), additional Non Destructive Examination methods are essential to examine 100 % volume of the weld joint.
Few of the NDT Services and their uses are given below:
- Ultrasonic Testing UT- To find Internal Defects (no Surface and below surface defects found).
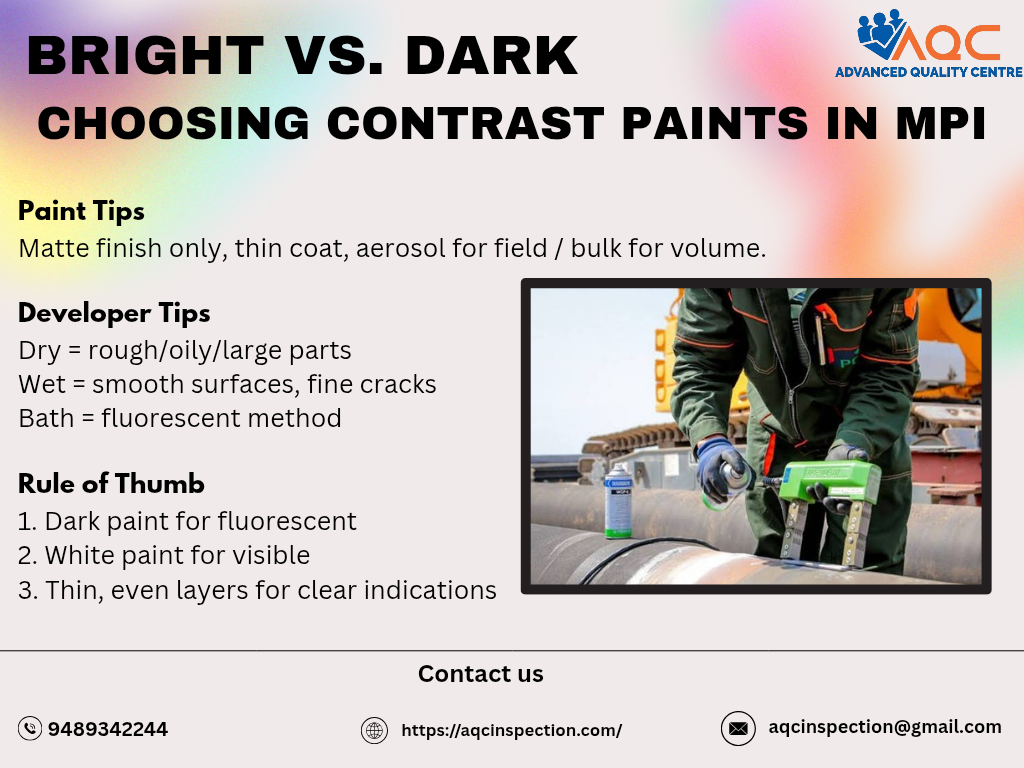
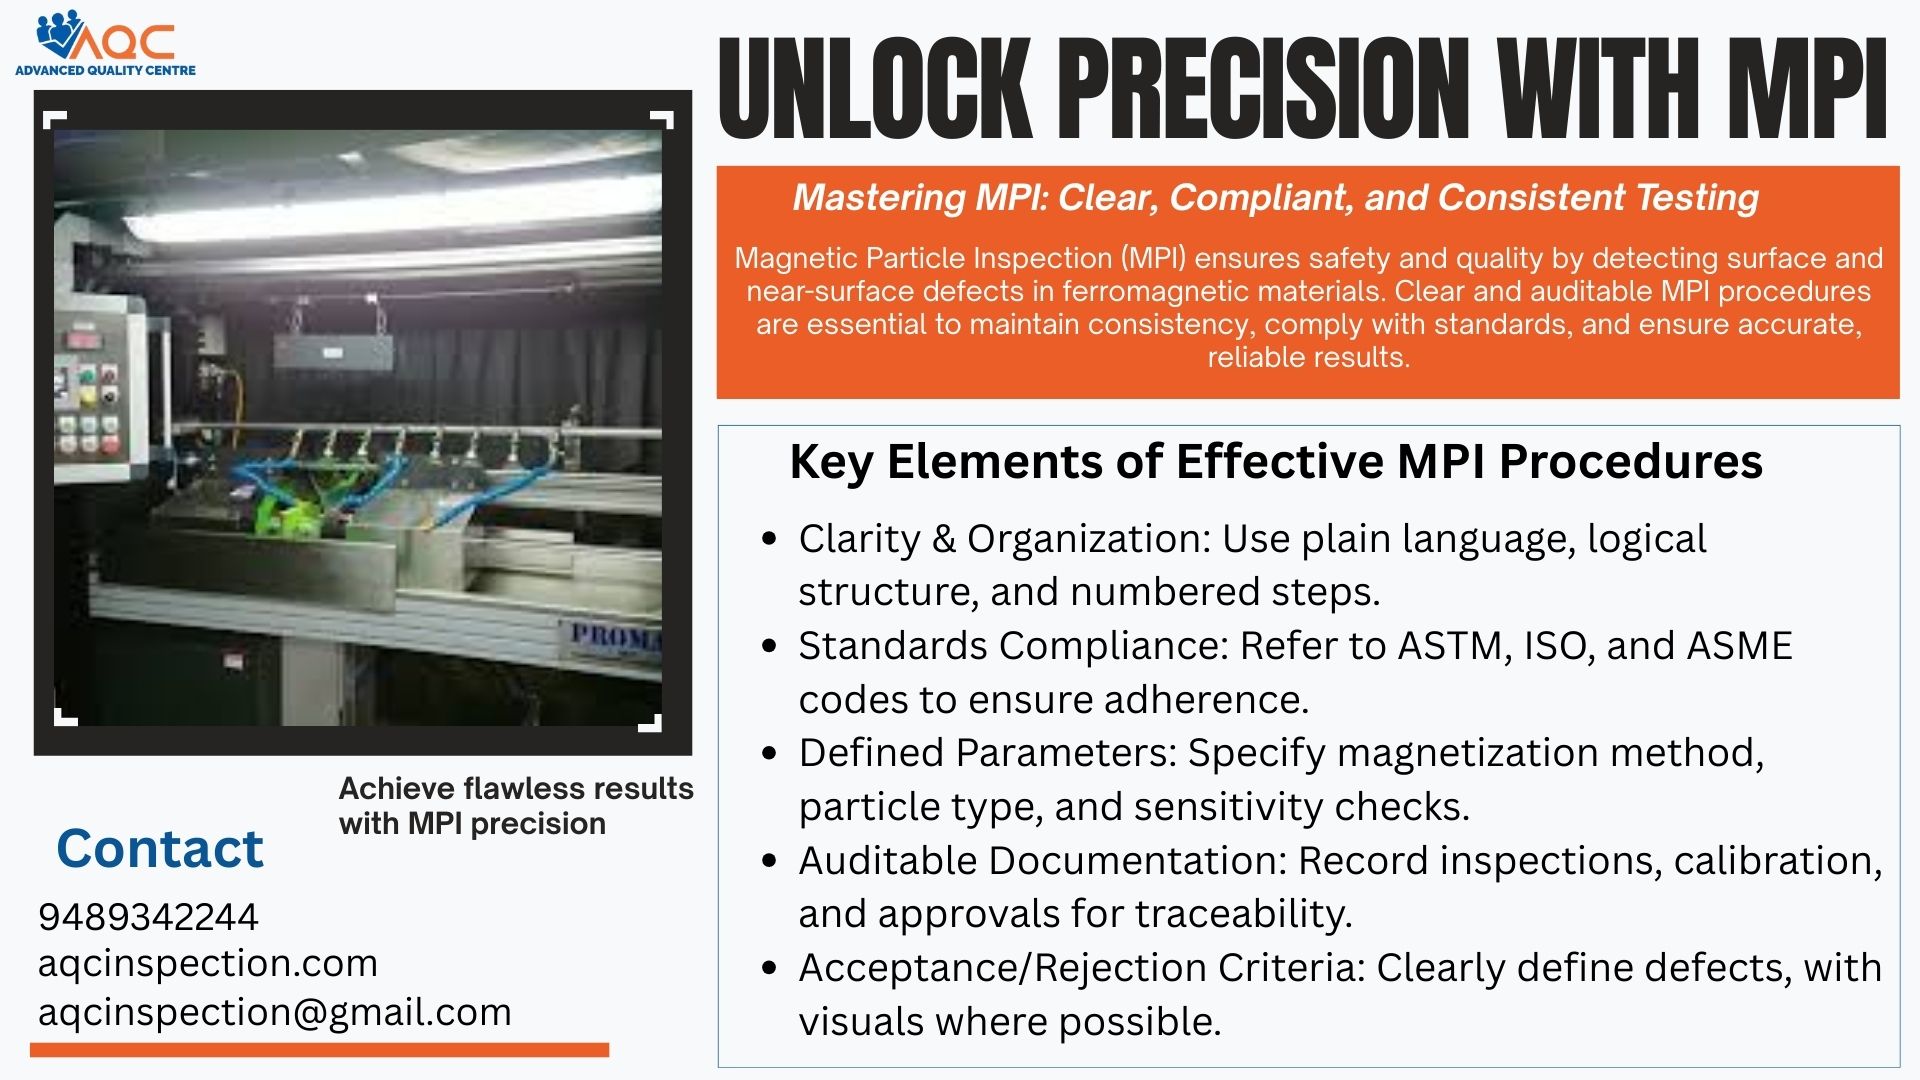
- Magnetic Particle Testing MT- To find the Surface and Sub-Surface Defects in Ferro-magnetic material with major content of ferrous / Nickel/ Cobalt.
- Liquid Penetrant Testing PT- To find surface defects including minute cracks in any material except material with porous surface.
- Radiographic Testing RT / X-ray – To find the defects at any locations of any material.
- Eddy Current Testing ET – To Find the surface and sub surface defects on any conductive material , especially thin sections.
- Leak Testing LT – To find discontinuities in a hollow component such as Pipe, tank, pressure vessel or tubes.
And Lot more…… To know more about How NDT services are used in industries, visit our blog page at
https://ndtcenter.blogspot.com/
It is essential to utilize reliable testing methods on the fabricated jobs or raw material to ensure the life of the component and safety of the component. Further the application of NDT Services saves companies plenty of money by avoiding rejection of components after machining, fabrication, processing & transportation.
Apart from NDT methods, the welding process involved and welders doing the job should be evaluated for the particular process and particular group of metal. In that case International Standards requires the companies to create a Welding Procedure Specification (WPS) for a specific job and qualify every welders based on the WPS created for welding at particular positions .
Few of the Welding Procedure Standards are given as below:
- ASME BPVC Section IX
- ISO 15614
- AWS D1.1 Steel, D1.3 Sheet Metal, D1.6 Stainless Steel
Lot more…..
Also Global Industries & internal Standards require the documents & inspection to be done by qualified persons as per the standards. Advanced Quality Centre has engineers qualified for all inspections as per ISO, API, NACE, BINDT PCN and ASNT standards. To avail NDT services for your jobs reach us on https://aqcinspection.com/non-destructive-testing/ or call 04224342244, we do third party inspection services at our facilities or at your premises.
