Introduction
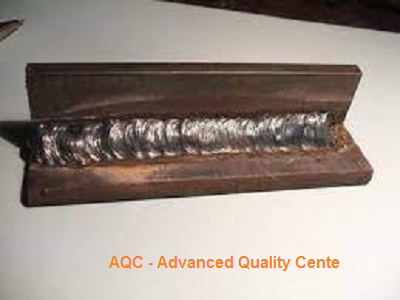
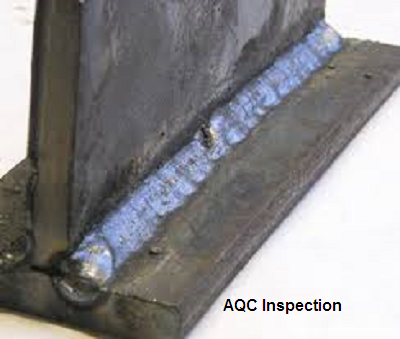
Welding repair of defects ranges from simple operations to improve the weld profile to more extensive procedures involving significant metal removal and subsequent rewelding to address extensive cracking. Repairing defects that occur during fabrication is generally easier than addressing service failures because the same welding procedures used during fabrication can often be applied during repair. In contrast, repairing service failures can be challenging due to hazardous access and the potential impossibility of using the original welding procedures.
This section explores the procedures and metallurgical principles involved in repairing carbon and alloy steels, wrought and cast iron, and some non-ferrous alloys.

Types of Defects
Defects requiring repair can be categorized into two types:
- Fabrication Defects
- Service Failures
Fabrication Defects
Common defects during welding include porosity, slag inclusions, undercut, lack of fusion, incomplete penetration, and solidification cracking. Some defects, such as hydrogen-induced cracking and lamellar tearing, may not appear until up to 48 hours after welding.
Welding repairs that involve removing defective areas and replacing them with sound material can be significantly more costly than ensuring proper weld deposition from the outset. Therefore, it’s crucial to prevent unacceptable defects and, in many cases, conduct large-scale procedure tests before fabricating critical components.
Despite precautions, defects are inevitable, particularly with manual welding. To determine compliance with practice codes, defects must be detected using non-destructive testing, and their dimensions and orientation must be evaluated. Codes generally accept that flawless welds are rare, specifying acceptable defect levels. Planar defects like cracks or lack of fusion are often prohibited and typically require repair and re-inspection.
Repair procedures may range from simply adding more weld metal to rectify undercuts to extensive excavation and rewelding for deep-seated defects like lamellar tearing. While the repair procedure may closely mirror the original welding process, certain conditions may need to be adjusted to prevent cracking in the repair weld. Sometimes, defects are only discovered during final inspection, requiring repairs in less favorable welding positions, such as vertically or overhead.
In critical components, the repair procedure may need to be qualified through testing, especially if fracture test requirements are specified. In cases where extensive rectification is required to meet code requirements, significant savings in cost and time can be achieved by assessing the significance of defects based on their fitness for purpose. This involves evaluating defect growth under fatigue loading and the required toughness of weld metal, parent plate, and heat-affected zones (HAZ) to prevent brittle fractures during peak loadings. Applying fitness-for-purpose criteria has sometimes led to inspection authorities accepting defects that exceed code requirements.
Service Failure
Service failure, as discussed here, primarily involves cracks caused by fatigue, brittle fracture, stress corrosion, or creep. In some cases, a plant shutdown may be necessary immediately upon discovering a crack, such as when a containment vessel leaks due to a crack that has propagated through the vessel wall. In rare instances, a fatigue crack may relieve stress in a highly stressed area and stop propagating, allowing it to be left unrepaired. In other cases, fatigue crack growth can be monitored through periodic inspections until a plant shutdown is convenient for repairs.
While brittle fracture is fortunately less common than fatigue, its consequences can be far more catastrophic, leading to disasters like ships breaking in half or pressure vessels fragmenting. Whether repair is feasible depends on how much of the structure remains intact, with repair options ranging from removing and welding the cracked area to prefabricating new subsections to be welded into place. The latter is more akin to rebuilding than repair.
Repairing service cracks can be challenging due to several factors:
- Restricted Access: For example, inside a mine winder.
- Preheat/Post-Weld Heat Treatments: May be difficult or impossible due to the risk of damaging machined surfaces, plastic seals, electrical insulation, or the presence of flammable materials.
- Positioning Constraints: The component might not be rotatable into a convenient position for welding, potentially necessitating challenging welds like overhead manual welding on circumferential seams of a pressure vessel. The change in welding process and position could affect fracture toughness, necessitating complex weld procedure tests for critical plant items.
- Hazardous Environment: Such as heat, nuclear radiation, or underground conditions.
General Techniques for Typical Repairs
Metal Removal
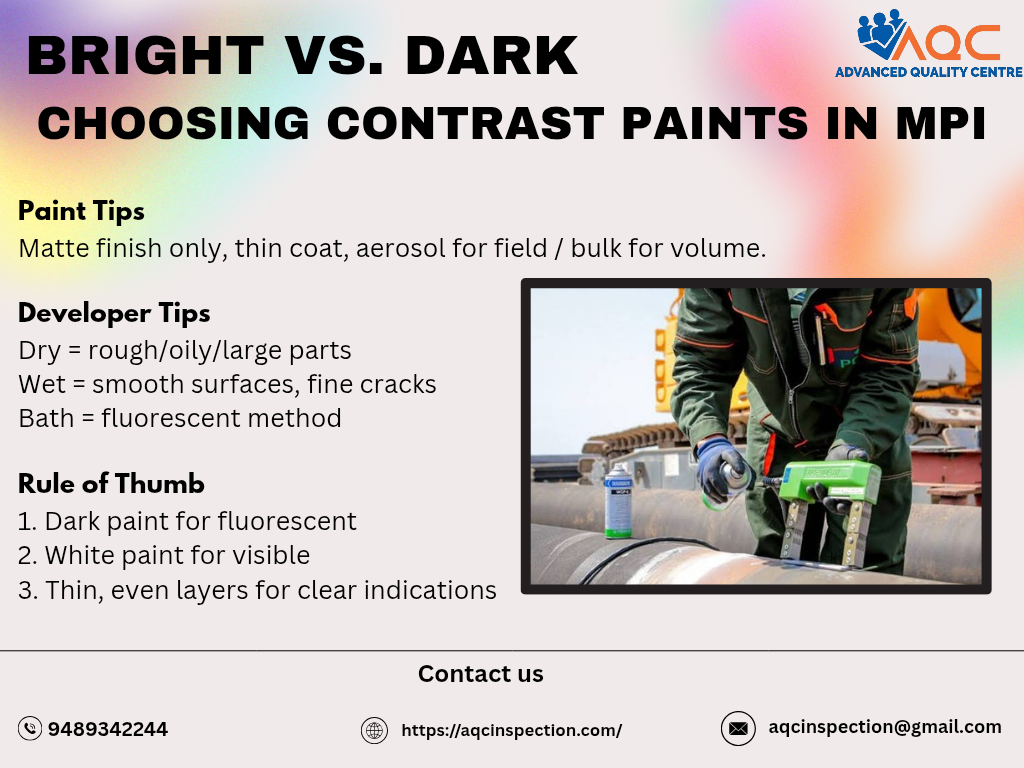
Defects may range from small areas in single-run fillet welds to large cracks extending deep into the parent metal. The most convenient method for rapid metal removal is air arc gouging, where metal is melted by a carbon arc and blown out by compressed air. Although effective on both ferrous and non-ferrous metals, the surface finish from arc-air gouging may not be as good as that from oxyacetylene gouging. The gouged surface can then be inspected using non-destructive testing methods like dye penetrant or magnetic particle inspection to ensure complete defect removal.
Other thermal metal removal methods, such as oxygen-arc or oxyacetylene gouging, are less commonly used. Mechanical methods include pneumatic chisels, high-speed rotary tungsten carbide burrs, and grinding wheels.
Groove Shape
For economic reasons, the minimum amount of metal should be removed, but the groove must be wide enough for electrode or filler wire manipulation. The width may need to be increased if the repair involves overhead welding or if the groove surface requires buttering with a weld metal layer of one composition before filling with another to prevent cracking.
While repair usually uses weld metal of a single composition, the buttering technique can be advantageous in large grooves to reduce shrinkage across the joint. Each weld metal layer has a larger free surface, allowing contraction with minimal strain on the parent metal. This reduces the risk of cracking in the weld or HAZ and minimizes component distortion.
Welding Processes
The common fusion welding processes applied to repair welding include:
- Manual Metal Arc (MMA) Welding with flux-coated electrodes.
- Flux-Cored Arc Welding with gas-shielded or self-shielded coiled tubular electrodes.
- MIG Welding with coiled solid wire and inert shielding gas.
- MAG Welding with coiled solid wire and active shielding gas.
- TIG Welding with a non-consumable tungsten electrode and separately fed filler wire.
- Oxyacetylene Welding.
For most ferrous alloys, MMA welding is preferred for repairs due to its adaptability to difficult situations where access is restricted, and the workpiece’s angle is less critical than in semi-automatic MIG or MAG processes. Flux-cored arc welding is extensively used in steel foundries for repairing castings, which can be positioned for flat welding to maximize current and deposition rates. MIG welding is generally favored for non-ferrous materials and is the first choice for welding aluminum alloys due to its ease and the high-quality results compared to MMA welding.
Summary
Before undertaking a welding repair, it is crucial to assess whether the repair is necessary. If a component or structure has defects of a known size, whether from fabrication or service, a fitness-for-purpose evaluation may show them to be insignificant, thereby saving on repair costs. The time required for the repair is another important consideration.
When a repair is deemed necessary, factors to consider include:
- The extent of the repair and potential consequences, such as distortion.
- Access and welding position.
- Preheat and post-heat requirements.
- Selection of welding consumables and procedures to avoid pre or post-weld heat treatment.
- Required mechanical properties in the weld metal and HAZ, and the need for procedure tests.
Considerations during a repair include:
- Repair procedure.
- Welders qualified for the procedure.
- Proper identification and marking of the repair.
- Type of excavation (gouging/grinding).
- Monitoring of metal removal.
- Shape of the excavation.
- Non-destructive testing of the excavation.
- Monitoring of rewelding.
- Non-destructive testing of the repaired area (as per original NDT).
Successful repair hinges on having suitable welding procedures, meeting metallurgical requirements, and employing highly skilled welders and supervisors. The expertise of these personnel is critical for implementing the first two factors, especially under the challenging conditions often encountered in complex repairs.
For more training or certifications for welding operator , please feel free to contact us through [email protected], [email protected], https://aqcinspection.com .
Visit our technical and career updates at our Blog site https://advancedqualitycentre.blogspot.com . or
- Tags: #Welding inspection, applications of laser beam welding, best NDT institute in coimbatore, best ndt institute in tamilnadu, best NDT training, best ndt training center, best welding institute in coimbatore, fiber laser welding machine, filler material, filler material in welding, filler material welding, filler metal, filler metal in welding, handheld laser welding machine, laser beam welding, laser beam welding process, laser welding machine, laser welding machine price, laser welding machine price in india, laser welding process, NDT certifications, ndt company in coimbatore, NDT course, NDT course in Coimbatore, ndt engineers near me, ndt full form, ndt inspection, ndt inspection in coimbatore, ndt inspection services, ndt services, ndt sevices in coimbatore, ndt training, ndt training institute, Non Destructive testing, nondestructive testing course, QA/QC certifications, small laser welding machine price in india, weld filler material, weld filler metal, welder certificate, welder qualification, welder qualification test procedure, welder test, welder testing, welder training, welder training certificate, welder training in coimbatore, welding course, welding course fees, welding course in coimbatore, welding filler, welding institute, welding laser machine, welding qualifications, welding tests, welding training Institute


